Monday 25 January 2016

Sewing + Lavender = Relaxation Squared

I grow lots of lavender in my garden, and I never let the flowers go to waste.  My earliest sewing projects were always lavender bags, and every August I carry on the tradition.

Last year, I experimented with using the old cloth bound maps as the fabric for the bags – or perhaps sachets is a more appropriate name. I cut out two heart-shaped pieces of map and blanket stitched them together, leaving a gap at the top.  


Dried lavender flowers were stuffed into the opening, along with a ribbon hanger. I then sewed it all together and attached a button for good measure.


The smell of the lavender permeates through the cloth bound map very well – but the sachets are far too fascinating to be shoved into the bottom of a drawer!


Monday 18 January 2016

Cartohoops!

Maps are, to me, a work of art. My favourite art has always been that mid 20th Century genre of simple, clear-lined landscapes. I love a good lino print and admire the work of artists such as Ravilious and Bawden. I don’t think it is a huge step from their work to that of the OS cartographer. I can visualise the landscape marked out in the intermingling of a railway line and a river. I could stand and stare at a map for much longer than I could a painting.

So, I have little pieces of map artwork about my home. Here are a couple of examples of what I call my Cartohoops.  I have put a circle of cloth bound map into an embroidery hoop (not as easy as it sounds!) and used a needle and thread to just augment them a little and make them mine. 


For the first, I used embroidery thread to pick out some of the features. This shows a place where some of my ancestors came from so it is part of my family album collection.


For the second, I had a bit of fun trying out a piece of artwork aimed at pleasing the keen cyclist, by using buttons as cycle wheels and embroidery thread as the bike frame. A design I picked up on Pinterest.


Have a play and see what makes you smile!

Both of these pictures are from my Instagram account - @Sarahmillerwalters

Thursday 14 January 2016

Save the Place


This bookmark was made using two rectangular pieces of cloth bound map,  A piece of felt was sandwiched inbetween to give it some body. The whole lot was blanket stitched together using Sylko Dark Reseda.

To finish off I fastened a vintage button and a piece of ribbon to the top, which stops the bookmark sliding out.

Visit the Sylko Colour Name Archive

Friday 8 January 2016

The SewsAttic Needlecase!


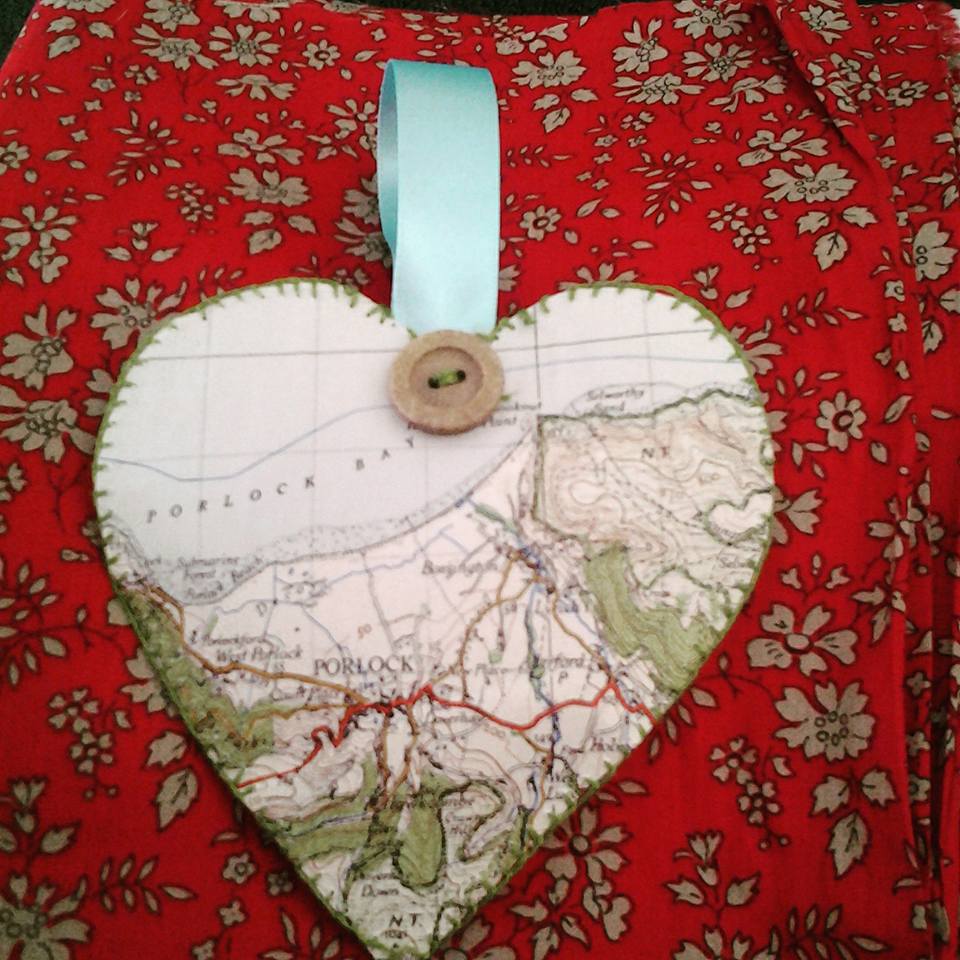
Needlecases made from vintage cloth bound maps
I have been making these for a while now, and I have sold one or two in my Etsy shop. A couple of buyers left lovely feedback including:

What a great little needlecase! Really quirky and fun - and came complete with some buttons, needles and pins! Thank you 👍

This needlecase is lovely. The hand-finished style is nice and the real bonus for me is that my village is featured on this vintage map cover.


I’m not sure where I got the original idea.  Obviously I spend a lot of time looking at needlecases.  I did buy a fabric one from a craft stall and study how it was put together, with a mind to making my own. But the use of a cloth bound map as the outer shell must have come out of the blue somewhere.  Possibly it was wine-fuelled.

The traditional folds of an old map make a handy template for this.  Cut out one of the rectangles made naturally by the folding action. 

Cut out a length of fabric to act as the inner lining, to the same size.  I use pinking shears to prevent fraying and give a nice scalloped edge. 

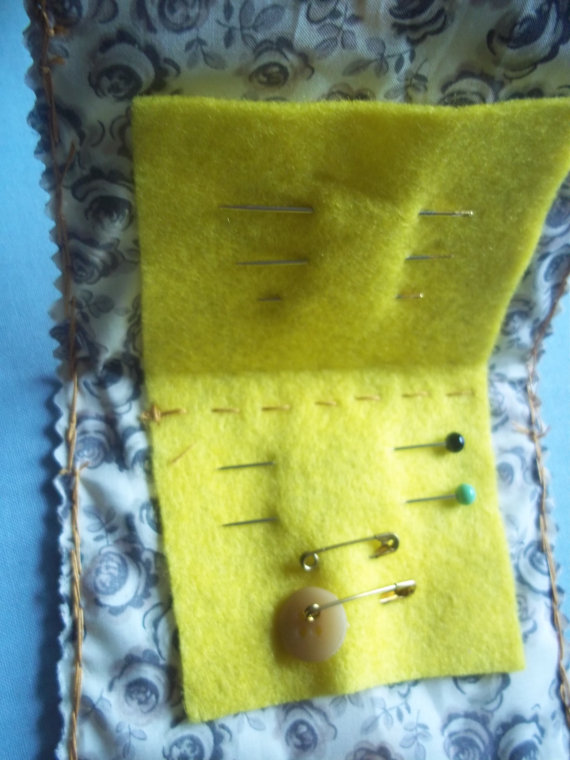
Get a small rectangle of felt and stitch it into the middle of your lining fabric, folding both in half to get the crease to stitch along. 


Then, stitch the lining fabric to the inside of the map, using backstitch.  Of course, I always use a vintage Sylko thread to do this.  I find that Lime Tint often blends in well with a map that contains a lot of green shading. Solent would be a good blue shade for a map of the coastline – but of course you can use whatever shade you think co-ordinates well with your materials.

While attaching the lining, ensure you slip in the ribbon ties halfway down each of the short sides. Give them an extra bit of backstitch to ensure that they stay in place.


Finally, add a couple of pins and needles to your felt, and the odd vintage button to complete the look. 


Nobody else with have a needlecase exactly like yours…and you can gaze lovingly at a favourite location as you pick out your needles.